Bespoke technology solutions for tour & activity operators
From custom booking pages to direct OTA/API integrations, we provide smart, effective technology solutions for your experiences business
Comprehensive solutions
for ticketing, checkin & reservation ops
Since 2018 Booking Heads have been helping tour operators streamline operations, boost customer engagement, and increase bookings through automation and cutting-edge technology.
Learn more
Site building & CRO
Guest experience optimization
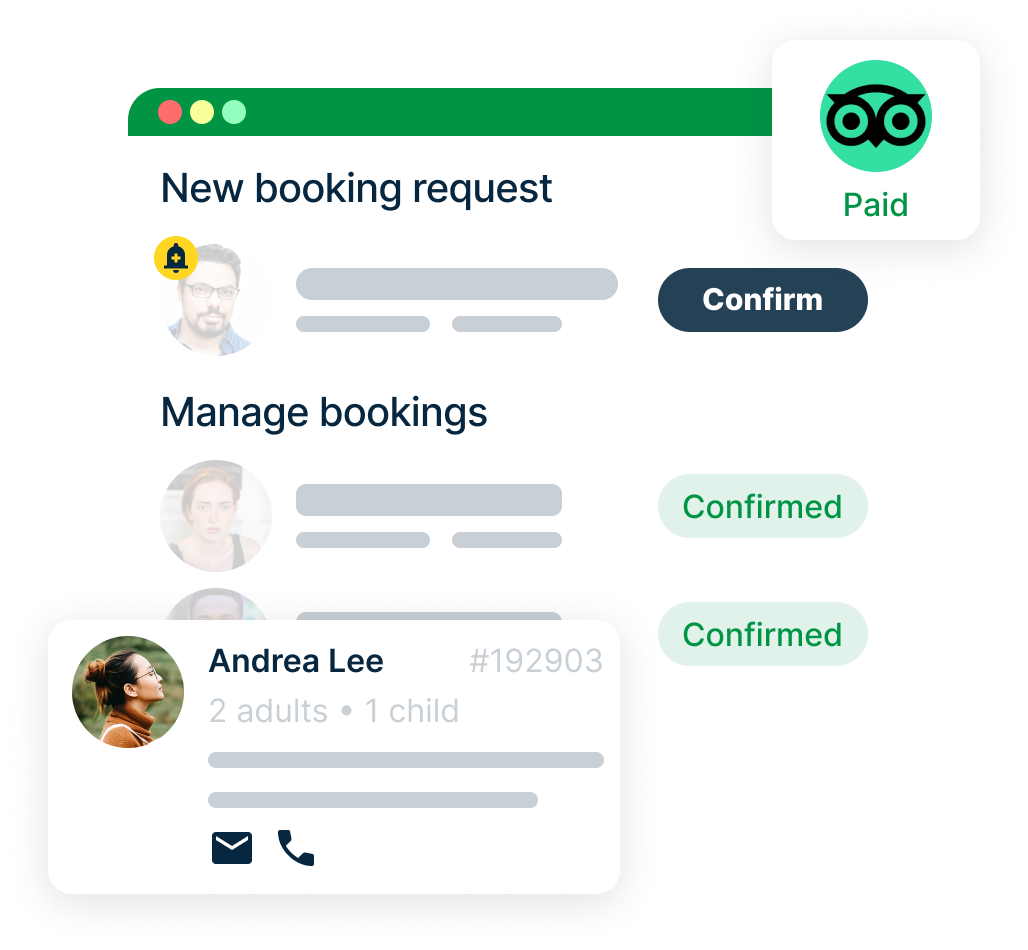
Booking systems & automation
Operations & CRM integration
Custom solutions
Case Studies
Discover how we have helped businesses thrive through smart automation and efficient operations.
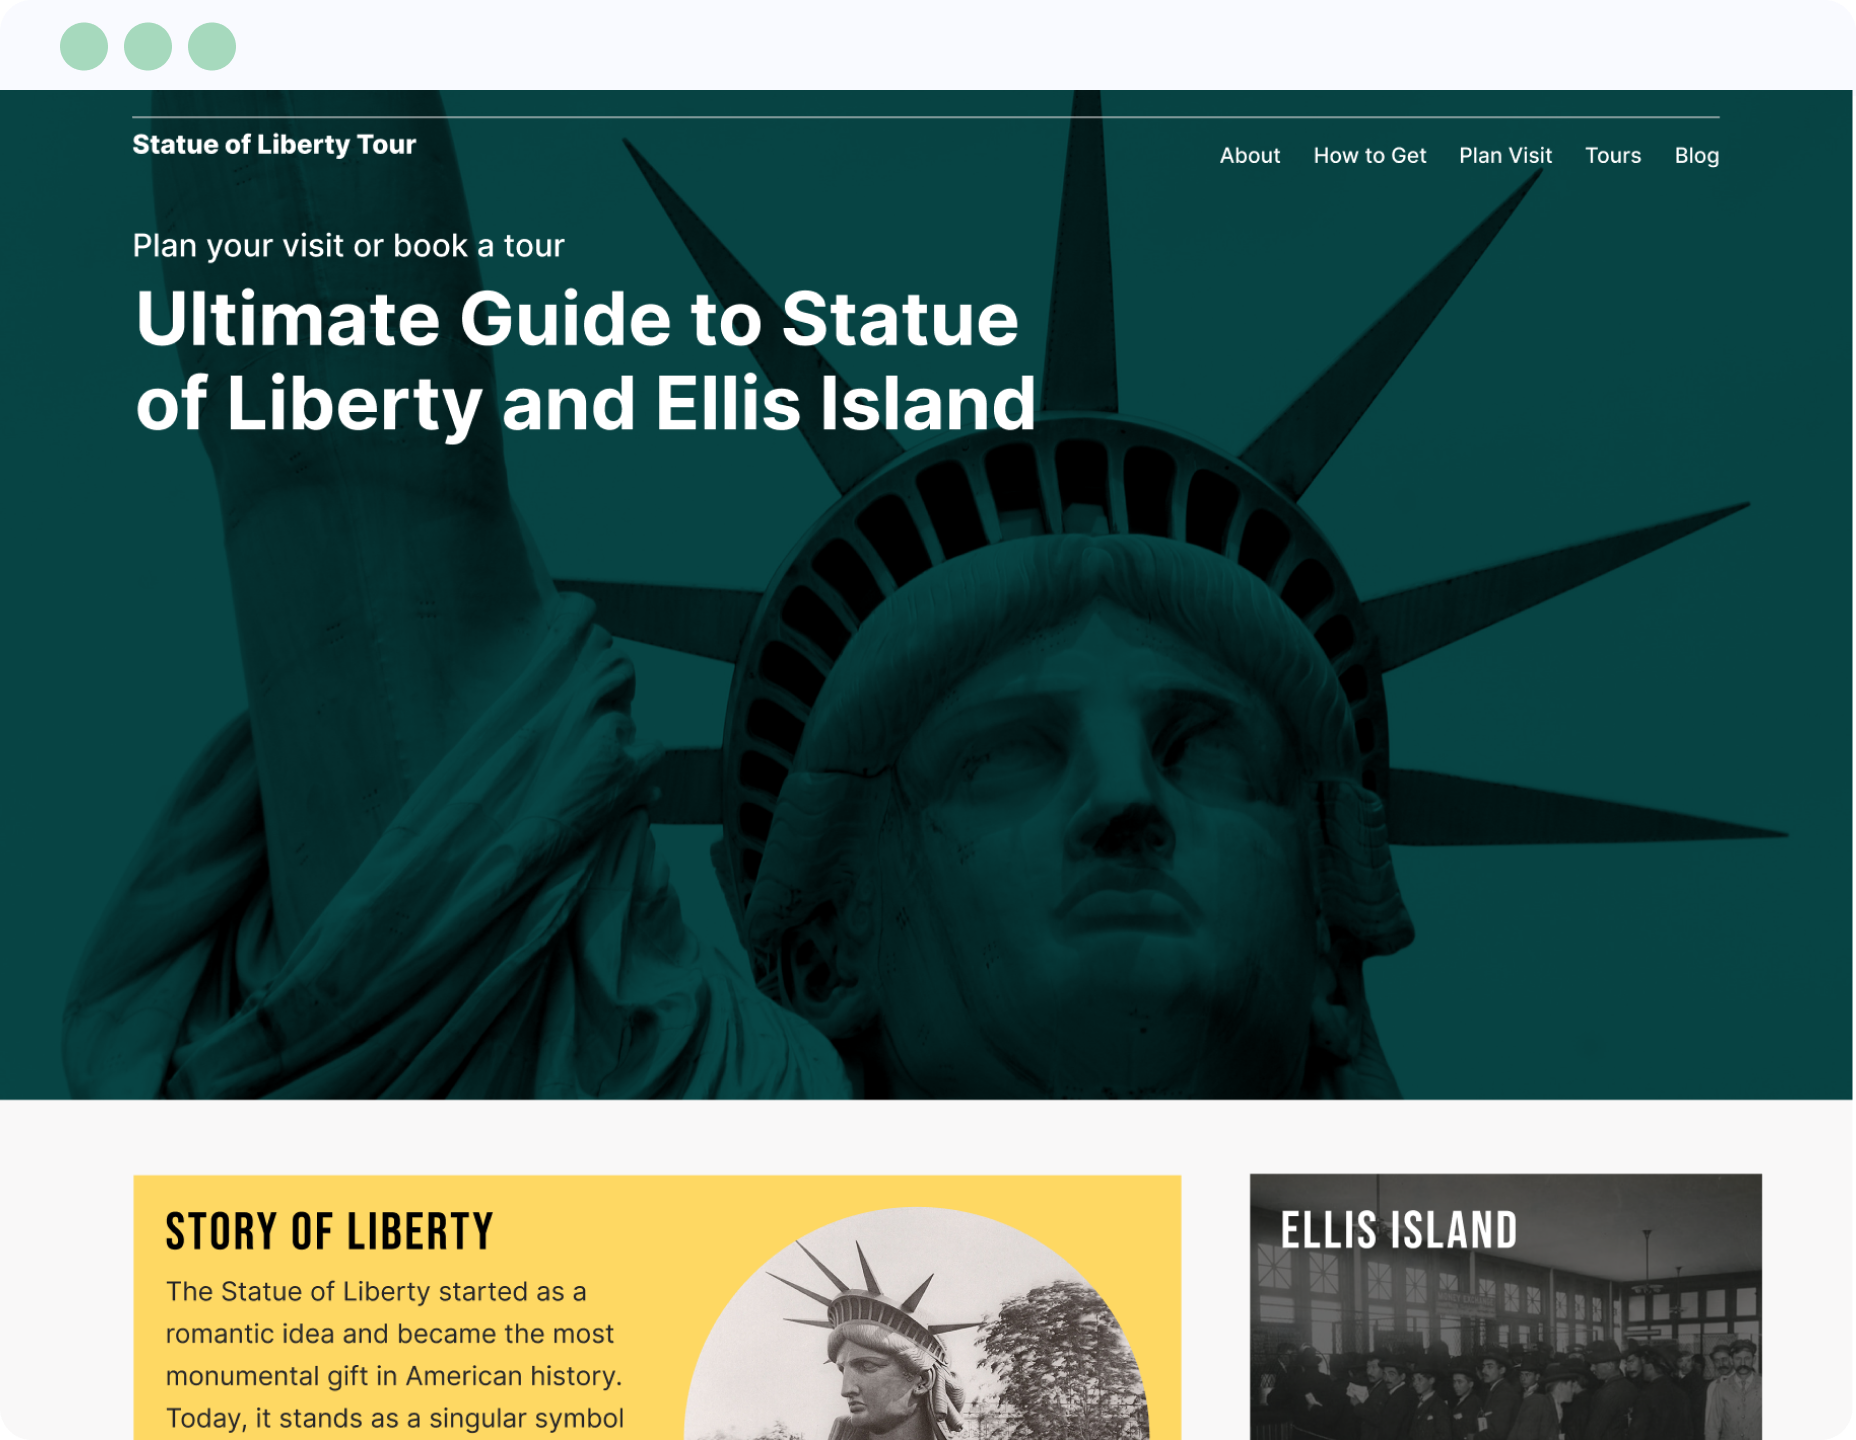
Statue of Liberty Tours
Comprehensive, high-converting resource for Statue of Liberty visitors - delivering essential information and seamless trip planning.
GoCity API Integration
Integrated GoCity pass validation - ensuring eligibility and reliability at the point of booking for every guest.